Running automations on hosted platforms is convenient at first, but it quickly comes with trade-offs. You are limited by pricing tiers, execution limits, and the degree of control you have over your workflows and data. For anything beyond small or occasional use, those constraints start to get in the way.
Setting up your own instance removes those limitations, but doing it properly is where most people get stuck. It is not just about getting it to run, but also about making sure it stays running, survives restarts, and behaves predictably under real-world usage.
This guide explains how to set up n8n on a VPS in a way that is stable and practical to maintain, so you end up with an environment you can actually rely on, not just a one-time setup that breaks later.
Key Takeaway:
Self-hosting n8n on a VPS gives you full control over workflows, data, and execution. A Docker-based setup ensures persistent, reliable operation, while a properly configured VPS provides scalability, security, and consistent performance for automation tasks.
Understanding n8n and Why to Install It on a VPS
n8n is built around running workflows on your own terms. Instead of being tied to a platform’s limits, you define how often jobs run, how much data they process, and how they integrate with the rest of your stack. That flexibility matters once your automations move beyond simple triggers and start handling larger workloads or critical tasks.
Running it on a VPS gives you control over how those workflows execute in practice. There are no enforced execution caps, no queueing delays caused by shared infrastructure, and no restrictions on how you store or process data. You decide how resources are allocated, how jobs are scheduled, and how the system is maintained.
This setup is particularly useful when automations need to run consistently in the background, interact with internal services, or handle sensitive data that should not pass through external systems. Instead of adapting your workflows to fit a platform, you shape the environment to fit your requirements.
Prerequisites for Installing n8n on a VPS
Make sure your server and environment meet these requirements:
- Linux VPS (Ubuntu recommended) – fresh or minimal install.
- SSH access: ability to run terminal commands remotely.
- Non-root user with sudo: avoid running services as root.
- Minimum 1 GB RAM: adjust if workflows are heavy.
- Docker and Docker Compose are required for the containerized n8n setup.
Installing n8n on a VPS Using Docker
Step 1: Connect to your VPS
Begin by connecting to your VPS from your local machine using SSH:
ssh ubuntu@<YOUR_VPS_IP>
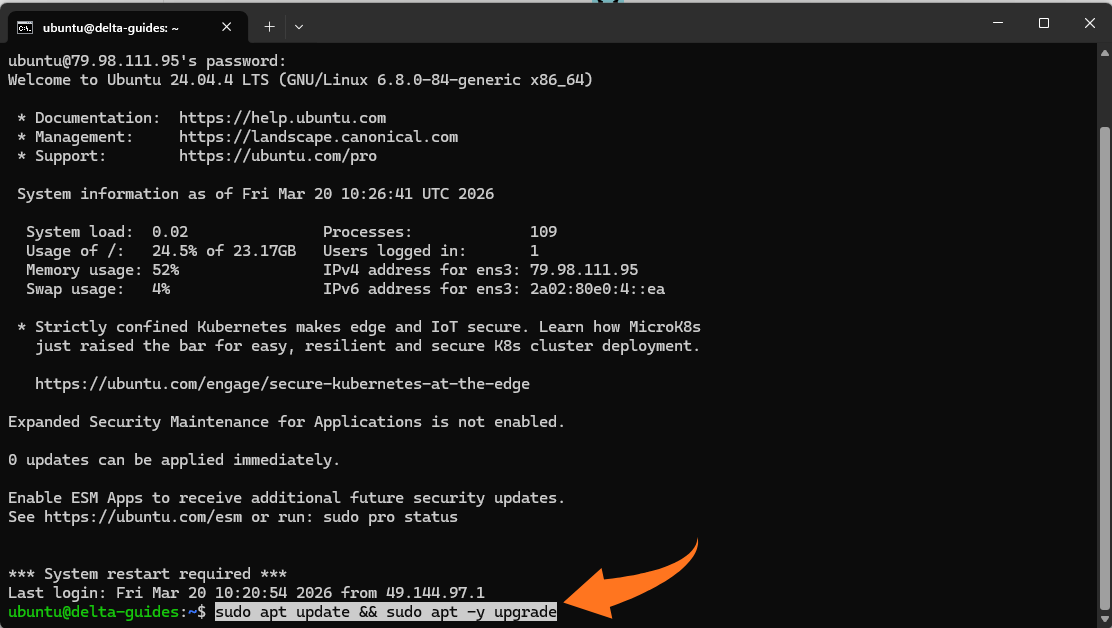
Step 2: Update system packages
Once connected, update your system packages to ensure everything is current:
sudo apt update && sudo apt -y upgrade
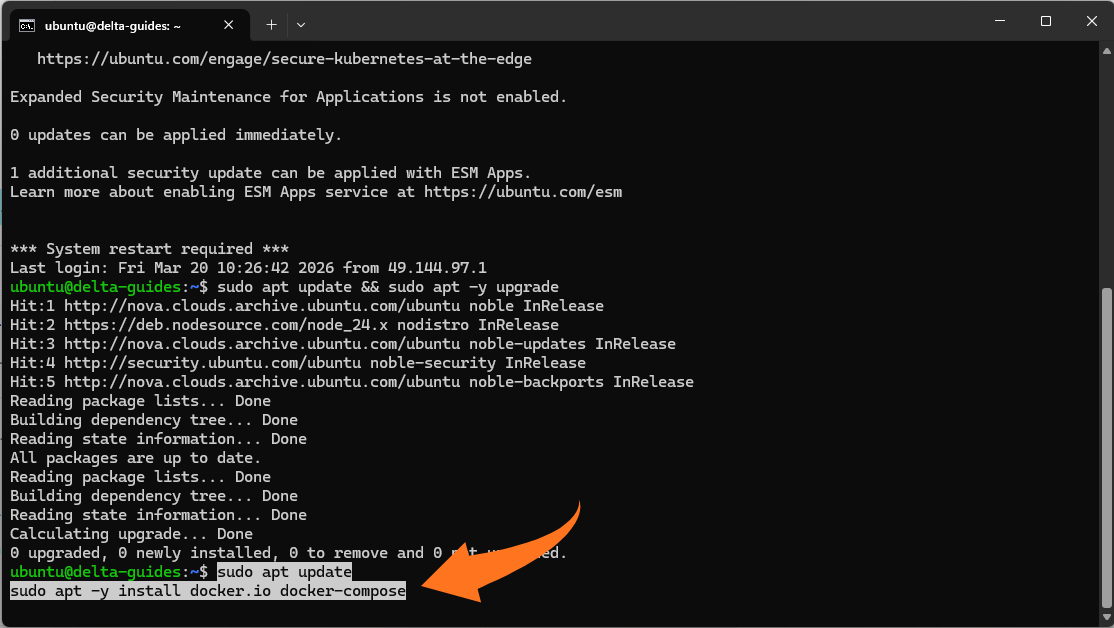
Step 3: Install Docker + Docker Compose (Ubuntu packages)
Next, install Docker and Docker Compose using Ubuntu packages:
sudo apt update
sudo apt -y install docker.io docker-compose
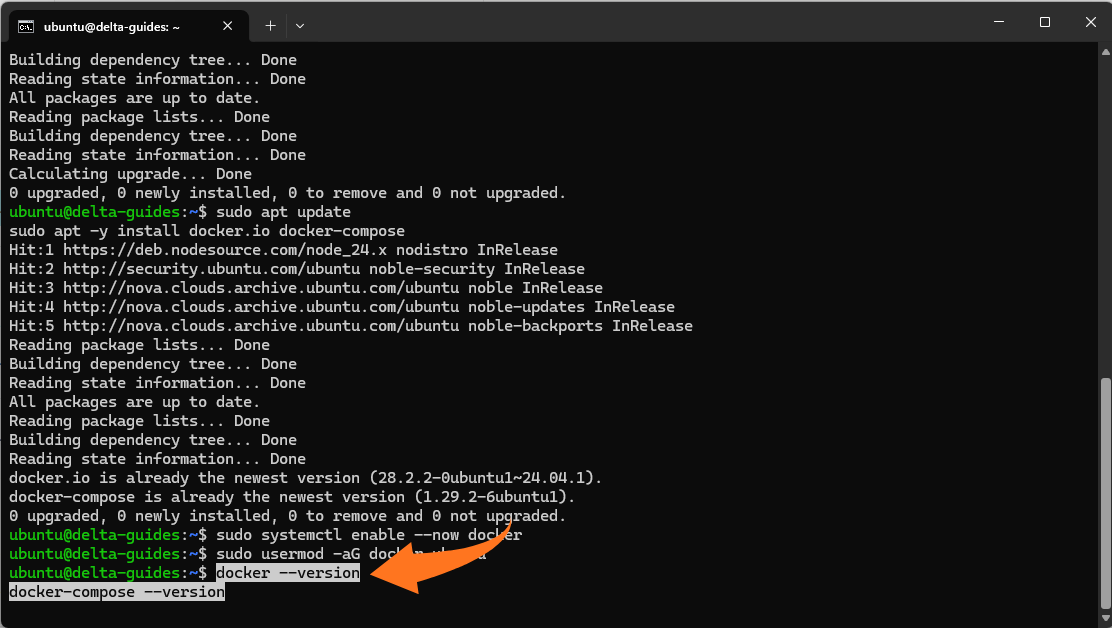
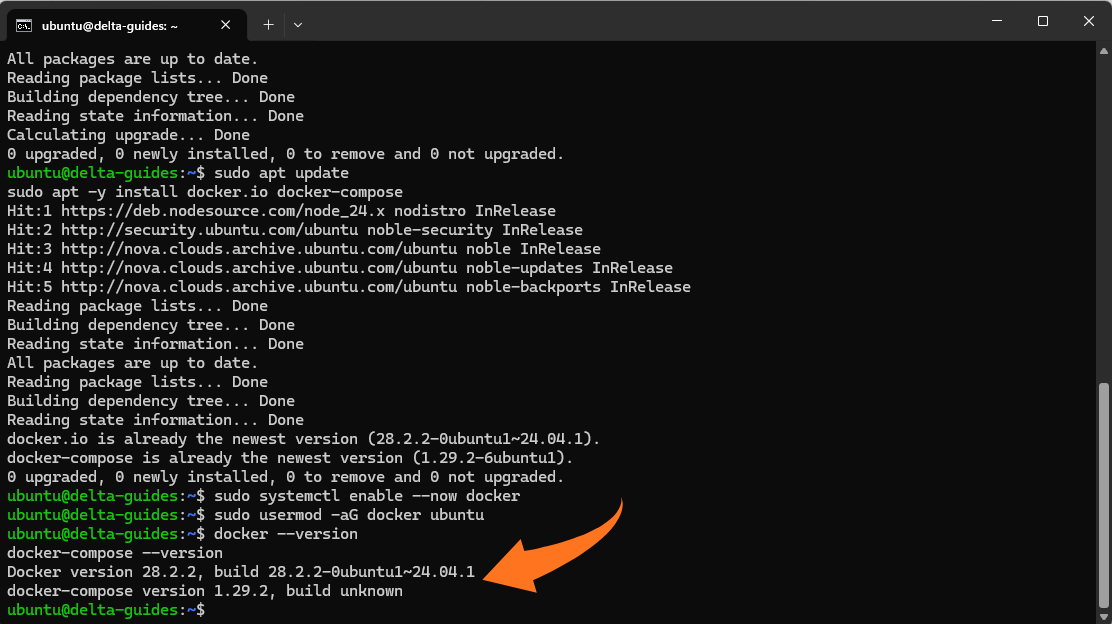
Enable Docker to start on boot and start it now:
sudo systemctl enable --now docker

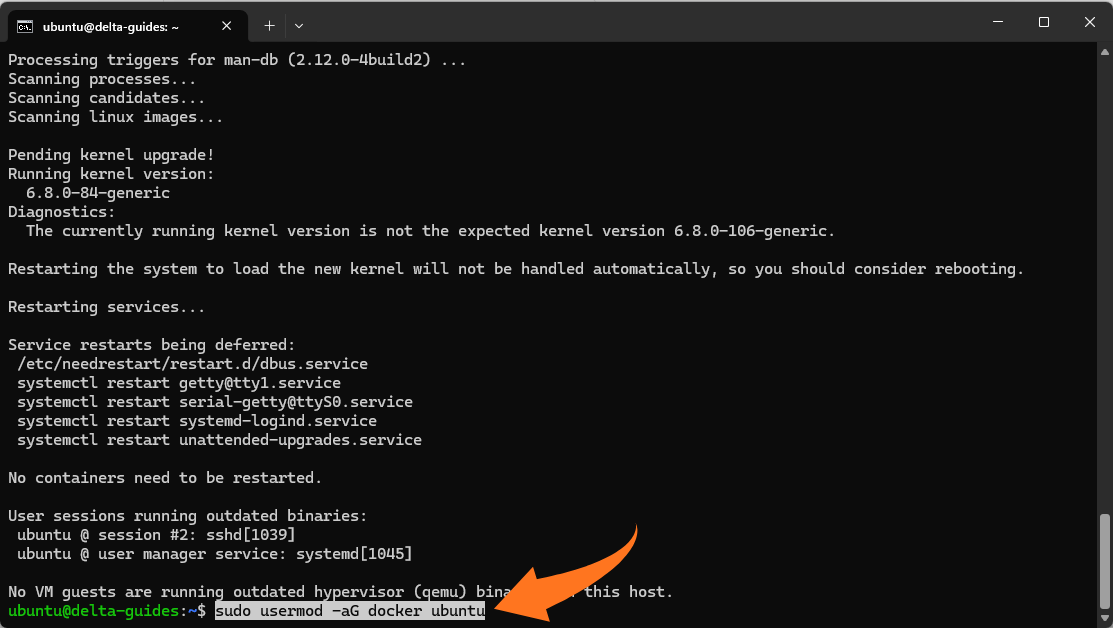
Allow the ubuntu user to run Docker commands without sudo:
sudo usermod -aG docker ubuntu
Verify:
docker --version
docker-compose --version
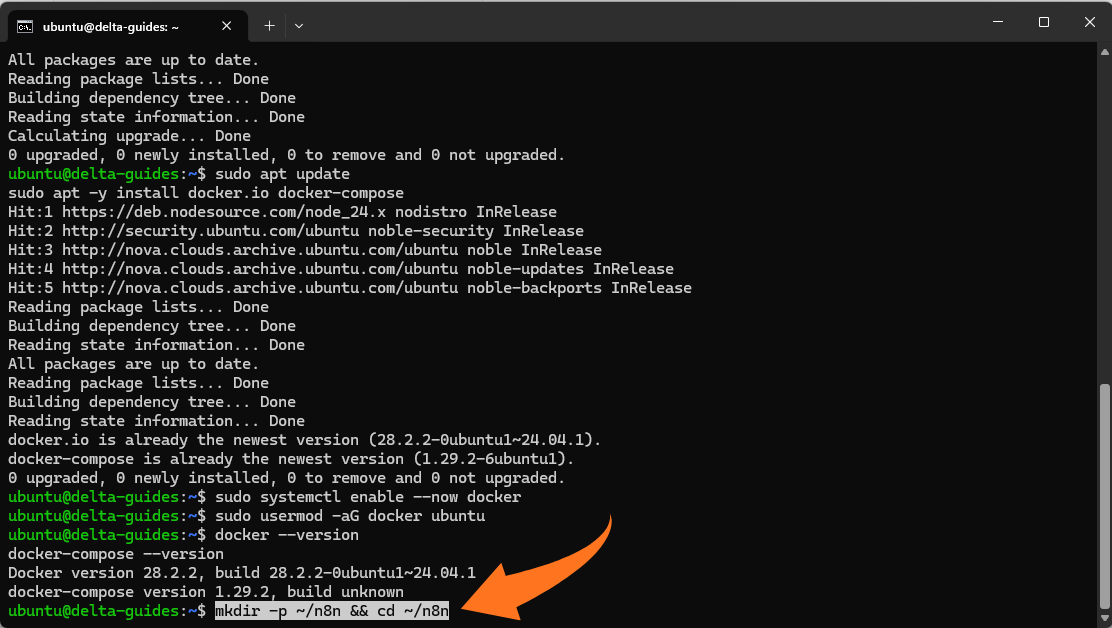
Step 4: Create an n8n folder
Create a dedicated directory for your n8n setup:
mkdir -p ~/n8n && cd ~/n8n
Step 5: Create a Docker Compose file for n8n
By default, n8n uses SQLite as its database, which is suitable for testing or small-scale setups. However, SQLite is not recommended for production use because it can become unstable under concurrent workloads and larger datasets.
For production environments, it is strongly recommended to use PostgreSQL. This provides better performance, reliability, and data integrity, especially when workflows become more complex or run frequently.
The example in this guide uses SQLite for simplicity. If you plan to use n8n long term, consider switching to PostgreSQL early to avoid a later migration.
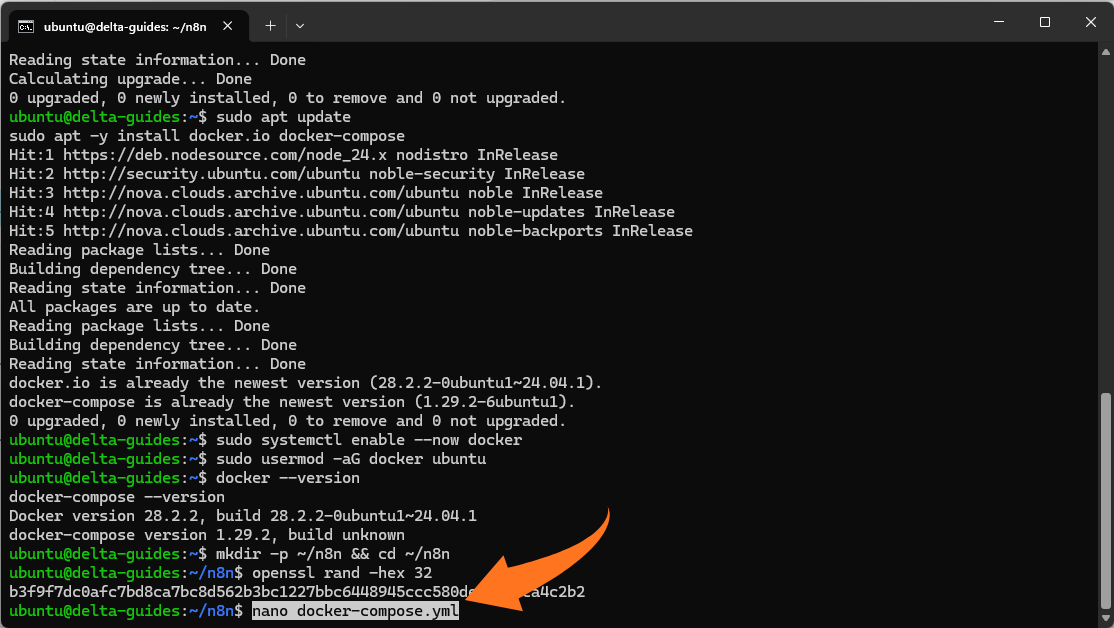
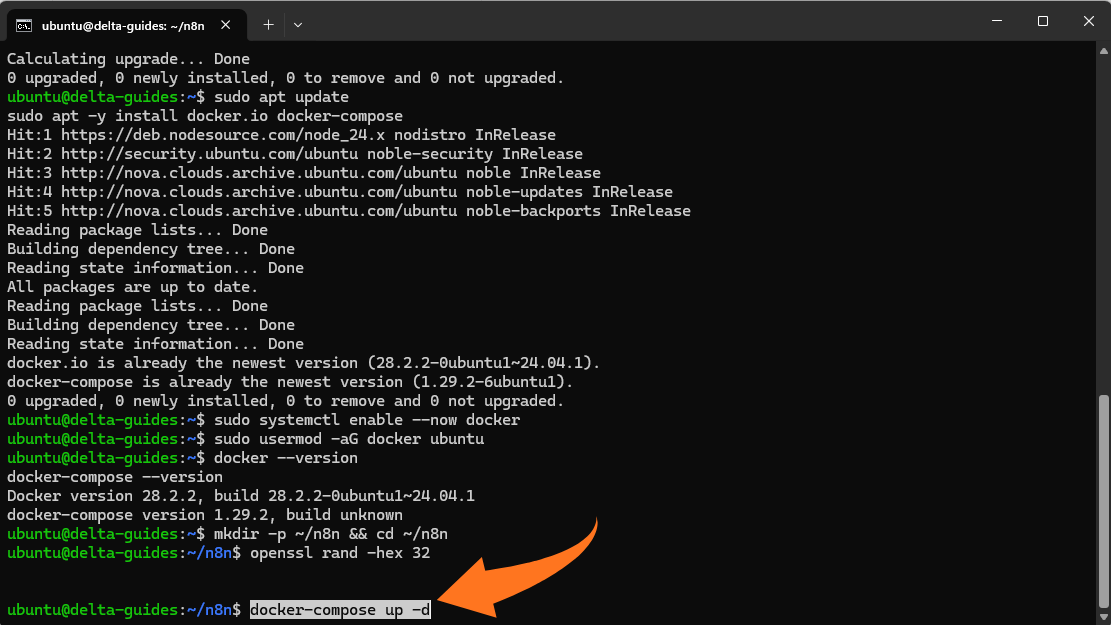
Generate a strong encryption key:
openssl rand -hex 32

Create the compose file:
nano docker-compose.yml
Paste this (replace the encryption key value with the one you generated):
yaml
version: "3.8"
услуги:
n8n:
image: n8nio/n8n:latest
restart: unless-stopped
ports:
- "127.0.0.1:5678:5678"
среда:
- N8N_ENCRYPTION_KEY=YOUR_RANDOM_KEY
- TZ=Europe/Sofia
томове:
- n8n_data:/home/node/.n8n
томове:
n8n_data:
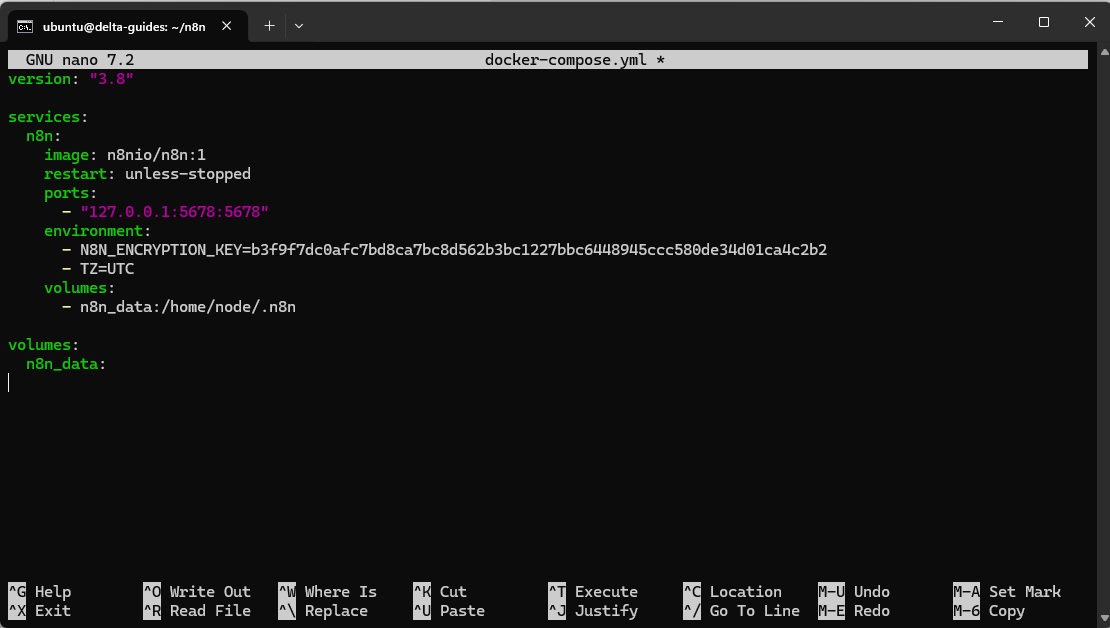
Save and exit.
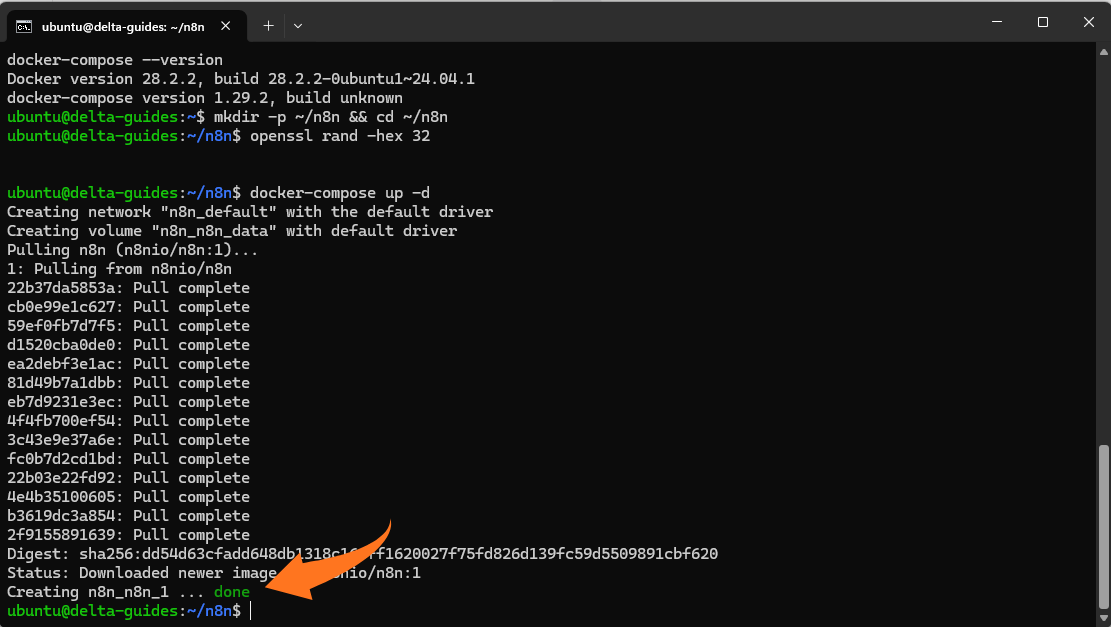
Step 6: Start n8n
Start the n8n container using Docker Compose:
From the ~/n8n directory:
docker-compose up -d
Note: On newer Docker versions, the recommended command is:
docker compose up -d
Both commands perform the same function, but docker compose is the modern, built-in version.
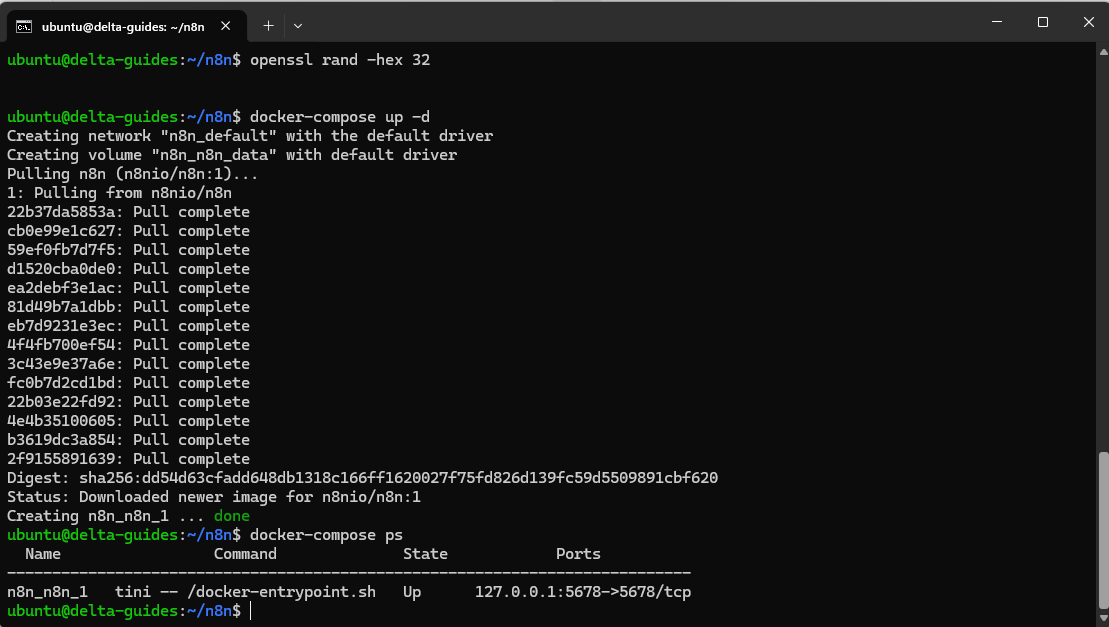
Check it’s running:
docker-compose ps
You can also use:
docker compose ps

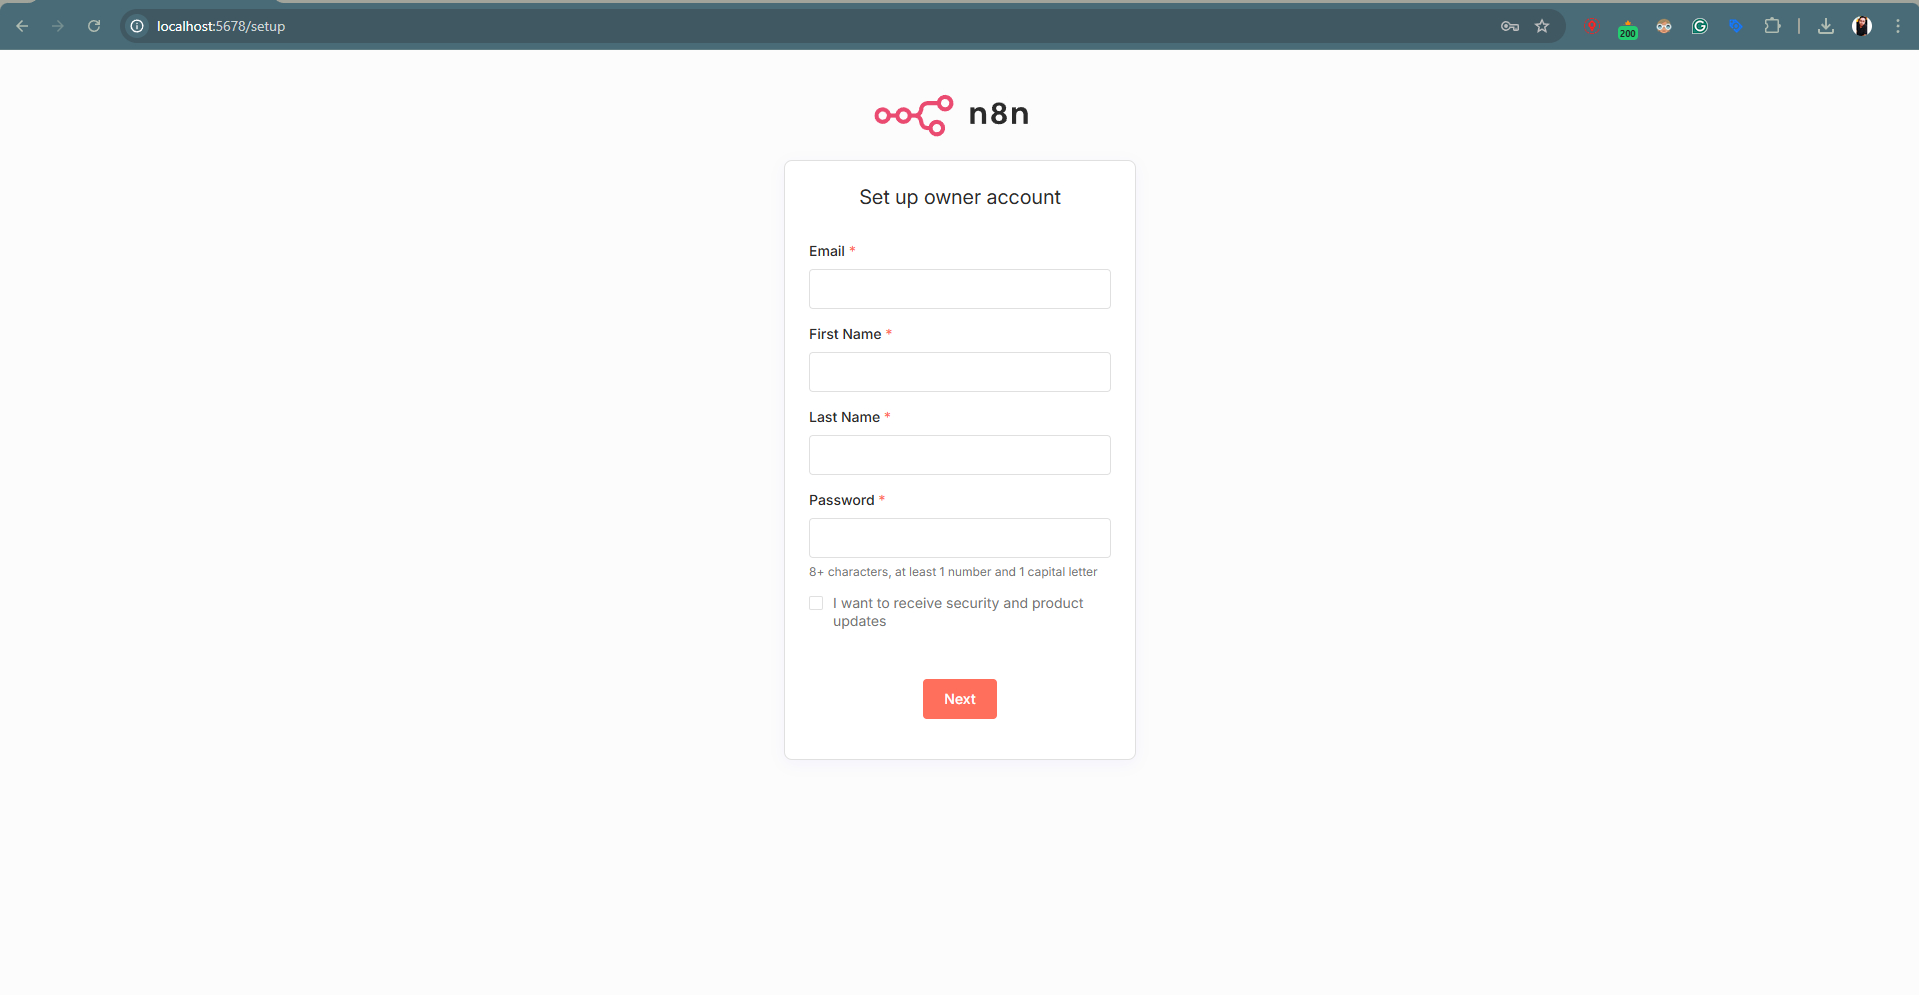
Step 7: Access n8n in your browser (no domain, private via SSH tunnel)
To access your n8n automation server securely without exposing it publicly, create an SSH tunnel from your local machine:
ssh -L 5678:127.0.0.1:5678 ubuntu@<YOUR_VPS_IP>
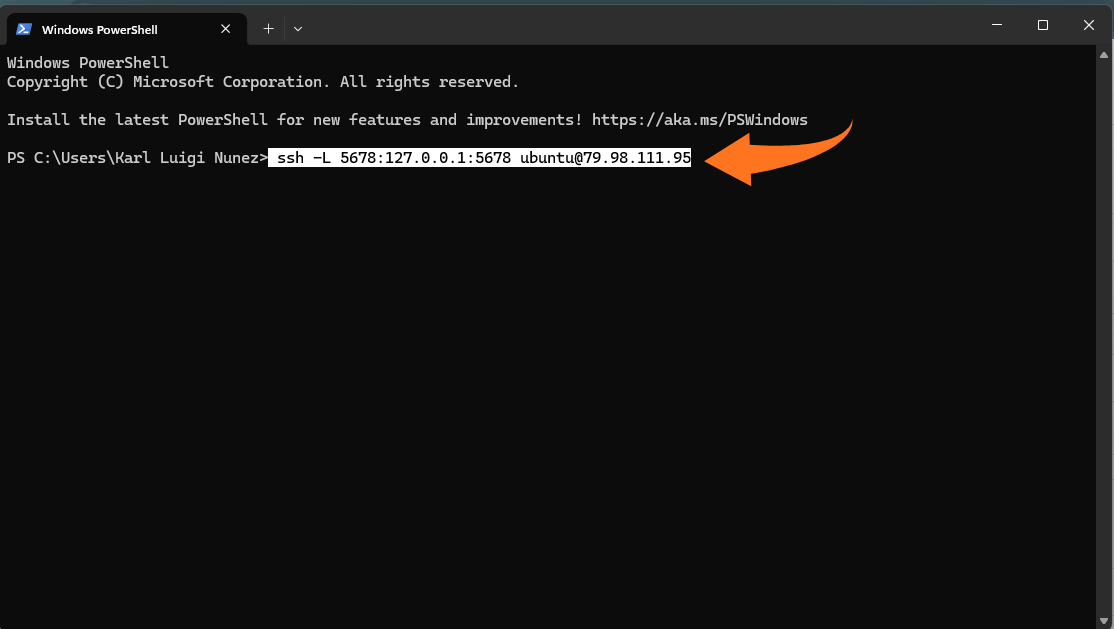
Keep that terminal open.
Then open in your browser:
http://localhost:5678
Optional: Access n8n via domain (Nginx reverse proxy)
For a more permanent setup, you can expose n8n using a domain and a reverse proxy instead of SSH tunneling.
Example Nginx configuration:
server {
listen 80;
server_name your-domain.com;
location / {
proxy_pass http://127.0.0.1:5678;
proxy_http_version 1.1;
proxy_set_header Upgrade $http_upgrade;
proxy_set_header Connection „upgrade“;
proxy_set_header Host $host;
proxy_cache_bypass $http_upgrade;
}
}
After configuring Nginx, you can secure your setup using HTTPS with Let’s Encrypt.
This approach is recommended for long-term use, especially if you need consistent external access to your n8n instance.
Optimizing and Securing Your n8n VPS Deployment
To ensure your n8n instance remains stable and secure, focus on these practices:
- Use Docker volumes: persist workflow data even if containers are restarted or recreated.
- Secure the encryption key: protects credentials stored in n8n; keep it private and backed up.
- Restrict direct access: run n8n through an SSH tunnel or configure a reverse proxy with HTTPS for secure remote access.
- Monitor resources: track CPU, memory, and container performance to maintain responsiveness as workflows grow.
- Plan for scalability: adjust VPS resources as needed to prevent downtime and maintain consistent execution.
Conclusion
Hosting n8n on your own VPS gives you complete control over your automation workflows and data. With a properly configured Docker setup, your instance can run reliably, persistently, and scale as your automation needs grow. This approach provides the freedom to customize, secure, and optimize your environment without the limitations of hosted platforms.
For anyone ready to take full ownership of their automations, starting with a dependable VPS is key. At Delta, we offer flexible and reliable Cloud VPS that make it easy to deploy n8n and maintain a stable, long-term automation setup.
