Deploying software like OpenClaw on a Virtual Private Server (VPS) lets you separate your service from your personal computer, giving it a dedicated environment to run. A VPS can host applications continuously, making it easier to maintain and access them when needed.
In this guide, we focus on installing OpenClaw on a private VPS and accessing it via a browser through SSH tunneling, ensuring a secure, reliable connection while keeping the system isolated from external traffic.
Key Takeaway:
Installing OpenClaw on a VPS allows it to run continuously in a remote environment without relying on local hardware. Proper system preparation, installation, and verification ensure reliable operation and secure access. Understanding common issues and how to resolve them helps maintain a stable, private deployment.
Understanding OpenClaw on a VPS
OpenClaw is a self-hosted AI agent platform designed to automate repetitive tasks and workflows. It lets users deploy AI-driven agents that can perform actions such as processing data, interacting with APIs, and running scheduled or event-based operations. In practical terms, it functions as an automation system in which AI handles routine processes with minimal manual effort. It is often used as an alternative to hosted automation tools like Zapier or Make, especially by users who prefer full control over their environment and want to run everything on their own infrastructure.
In a VPS setup, OpenClaw runs as a persistent web service with dedicated resources and continuous uptime, making it suitable for long-running automation tasks. Unlike local installations that depend on a personal machine being active, a VPS keeps the system running consistently in the background. Since it is self-hosted, it is managed via command-line tools and a web dashboard rather than a desktop interface, with security typically enforced by restricting access to localhost and using SSH tunneling to prevent public exposure.
Prerequisites
Before installing OpenClaw on a VPS, ensure your server meets the following requirements:
- Operating System: A Linux-based VPS is required; Ubuntu 20.04 or later is recommended for full compatibility with the installer script.
- Memory: Minimum 1 GB RAM; 2 GB or more is preferred for smoother performance under load.
- CPU: At least 1 dedicated CPU core; additional cores improve multitasking during background operations.
- Storage: Minimum 10 GB free disk space to accommodate OpenClaw, dependencies, and logs.
- SSH Access: Root or sudo privileges are required for installation and system configuration.
- Optional: A firewall configured to allow only trusted connections can help secure your VPS before installation.
Installing OpenClaw on a VPS
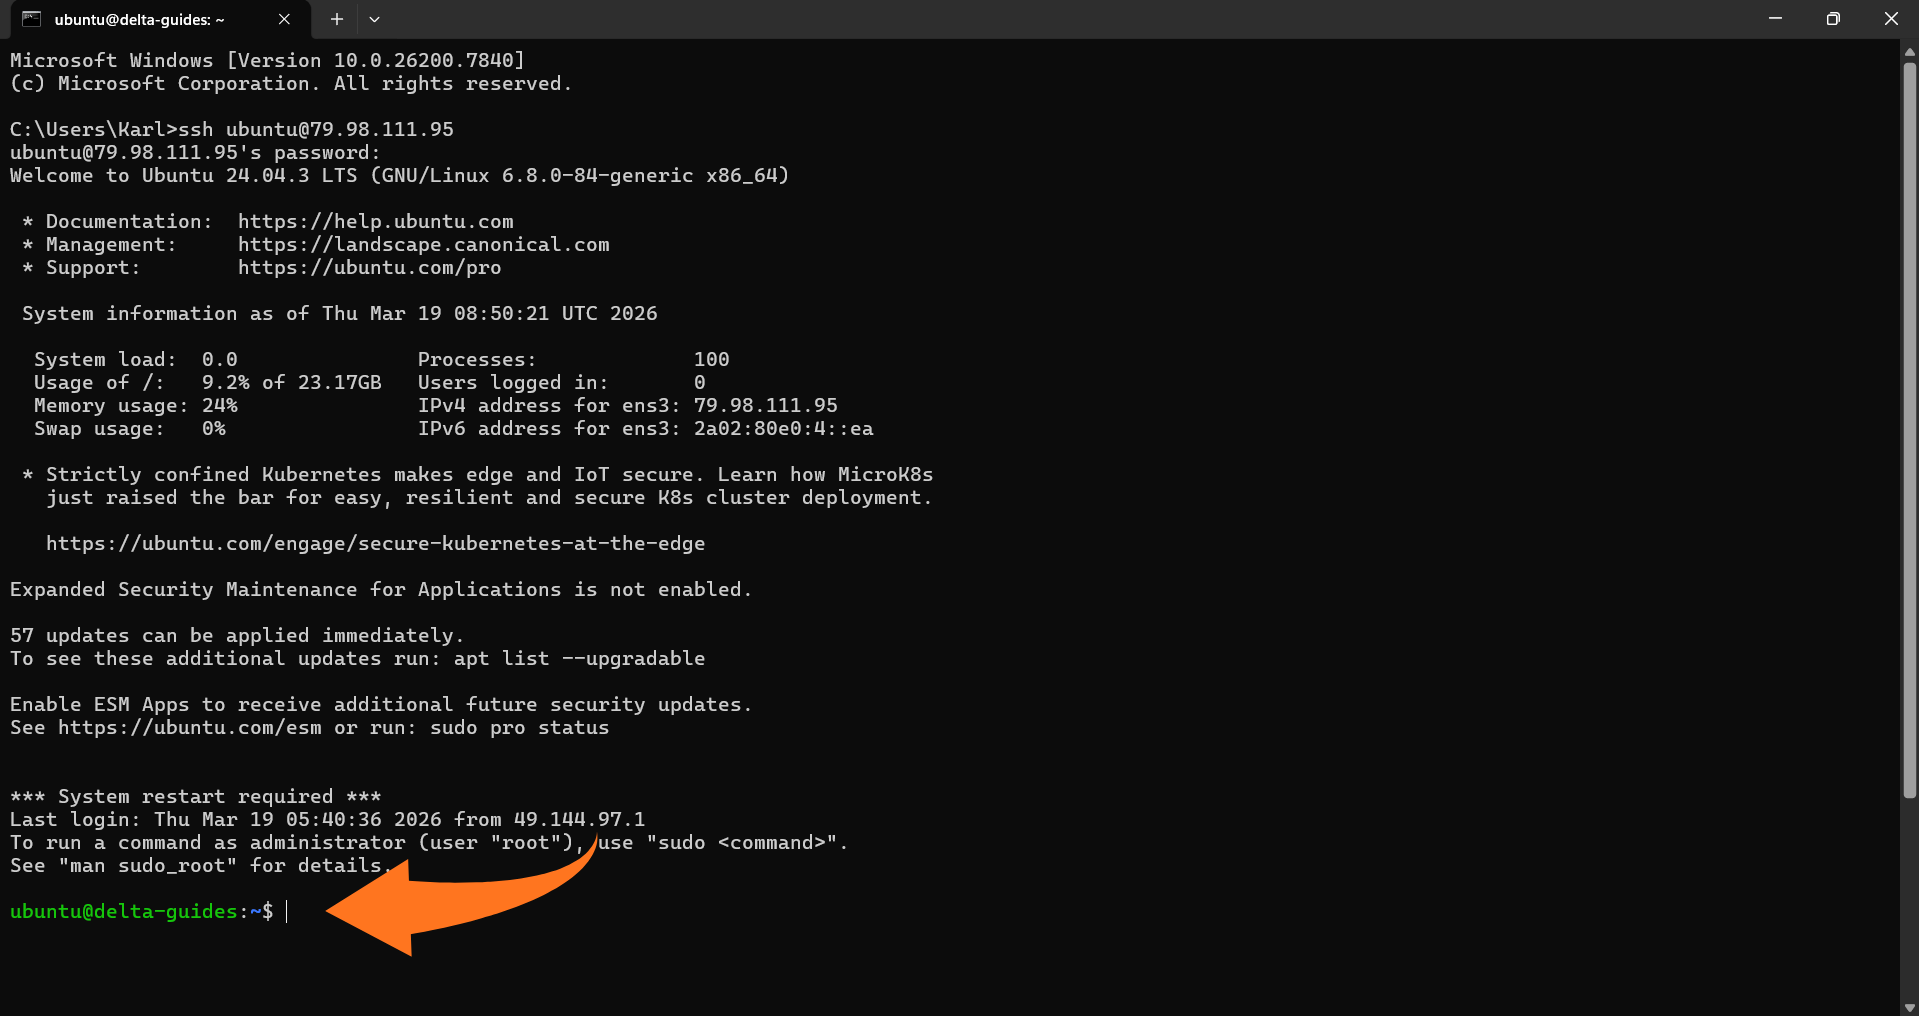
Step 1: Connect to your VPS via SSH
From your local machine, connect to your VPS using:
ssh user@YOUR_VPS_IP
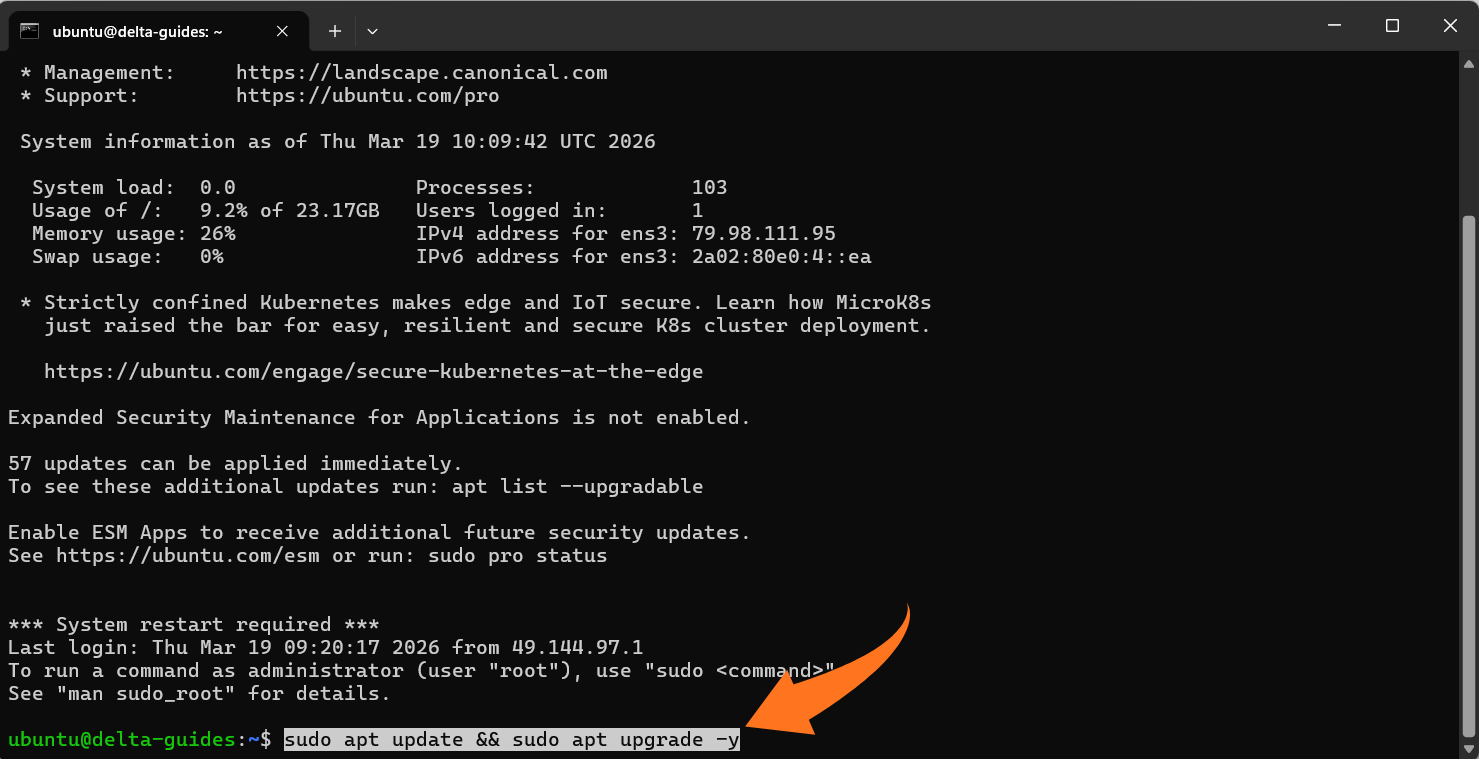
Step 2: Update your server packages
Update and upgrade system packages:
sudo apt update && sudo apt upgrade -y
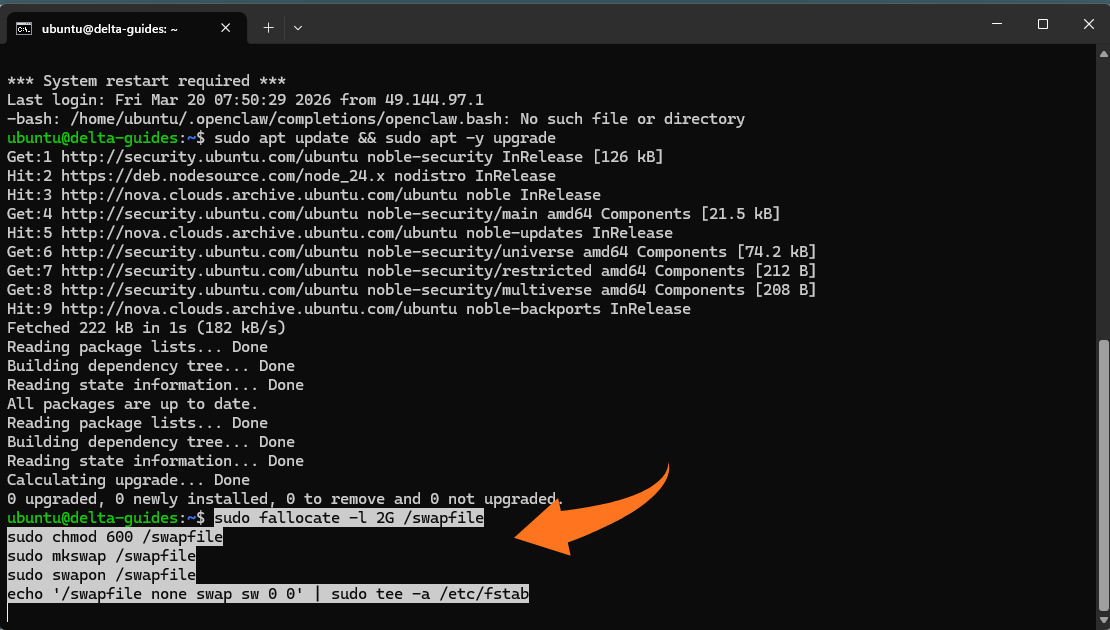
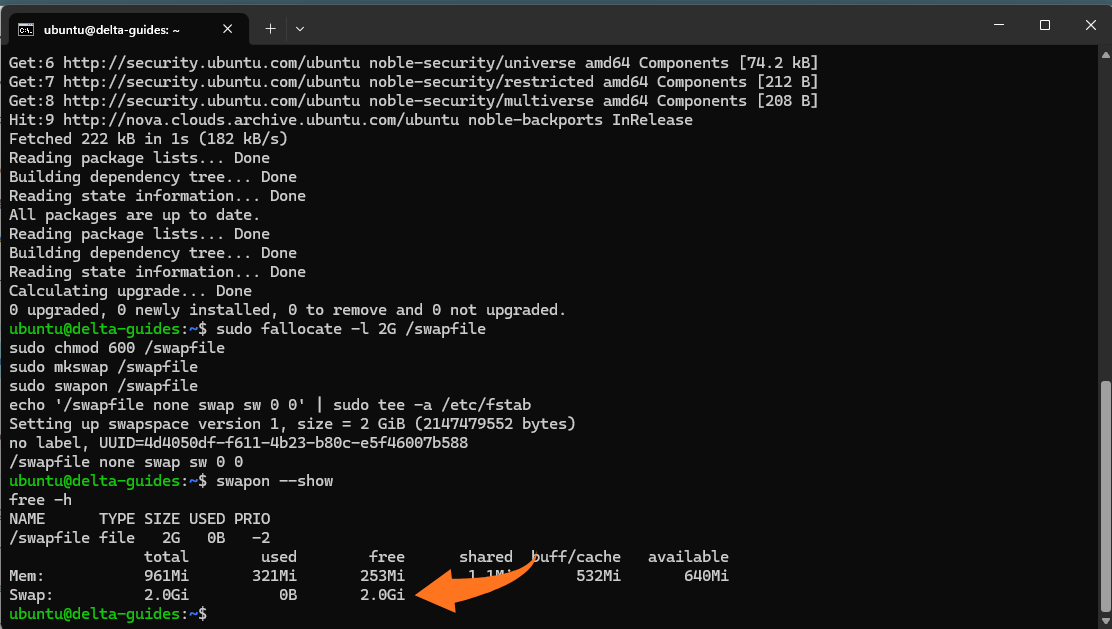
Step 3: Add swap
On small VPS plans (around 1GB RAM), OpenClaw installation and diagnostics can fail due to memory pressure. Adding swap makes installs much more reliable.
sudo fallocate -l 2G /swapfile
sudo chmod 600 /swapfile
sudo mkswap /swapfile
sudo swapon /swapfile
echo „/swapfile none swap sw 0 0“ | sudo tee -a /etc/fstab
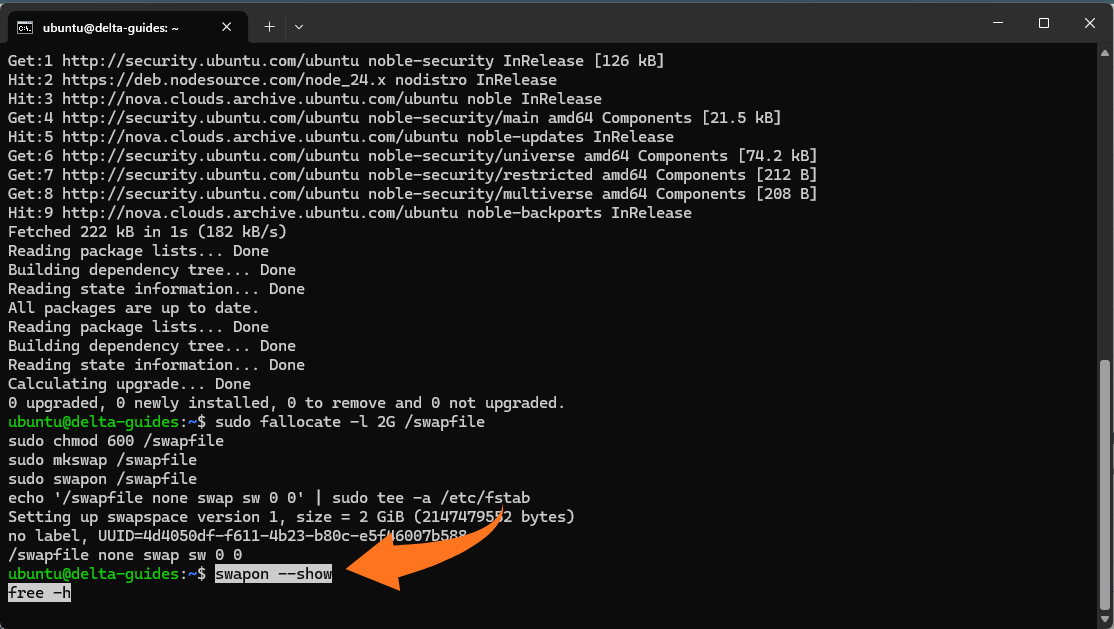
Verify that swap is active:
swapon --show
free -h
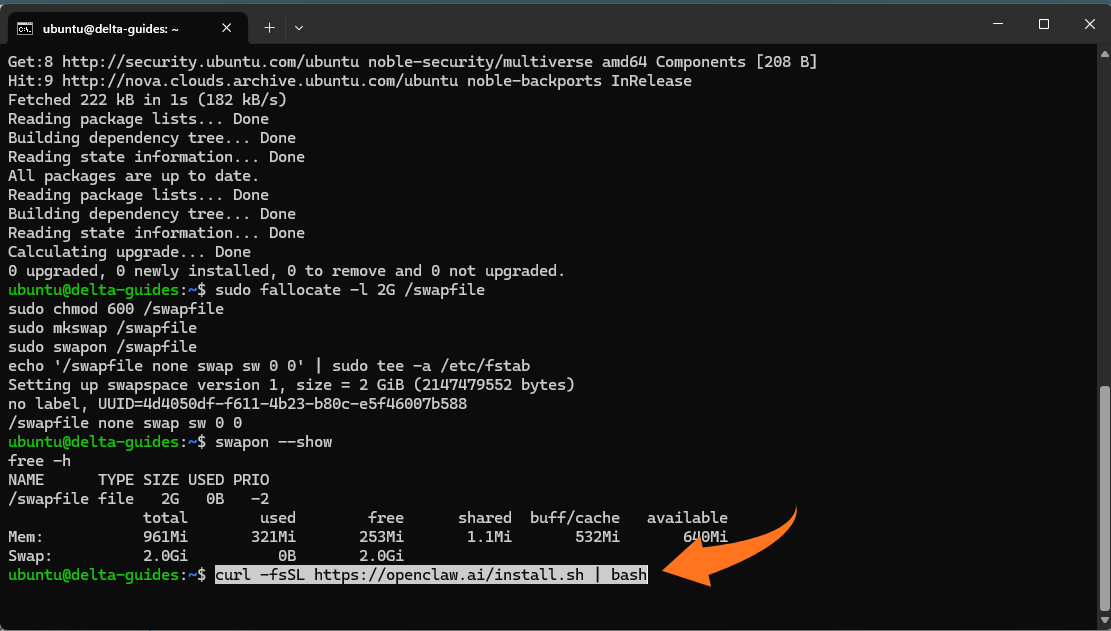
Step 4: Install OpenClaw using the official installer
Run the installer script:
curl -fsSL https://openclaw.ai/install.sh | bash
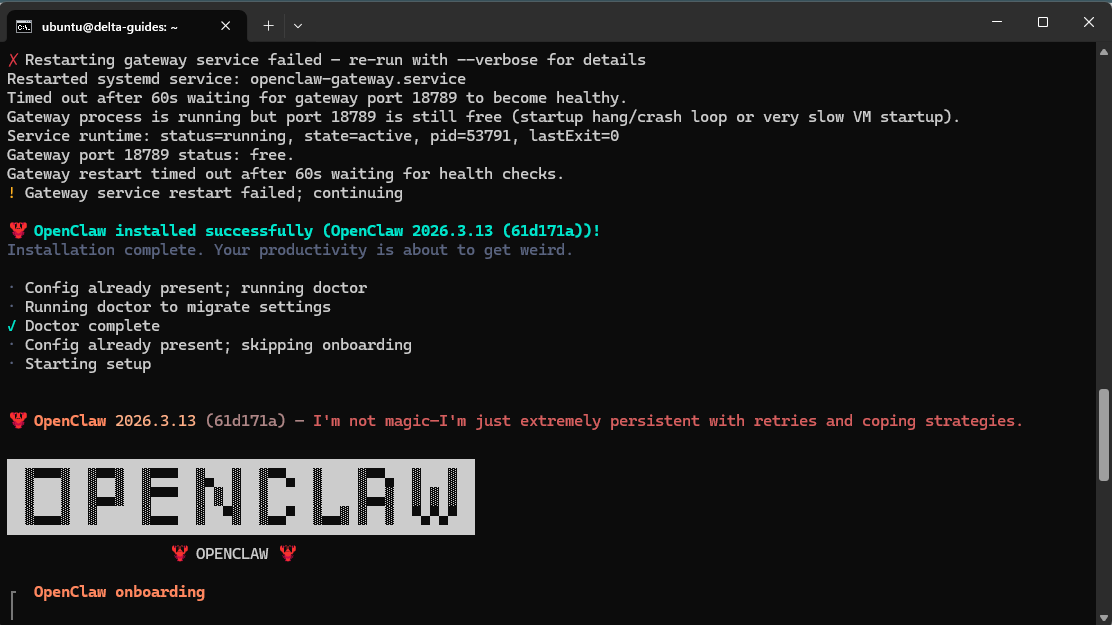
Step 5: Complete onboarding
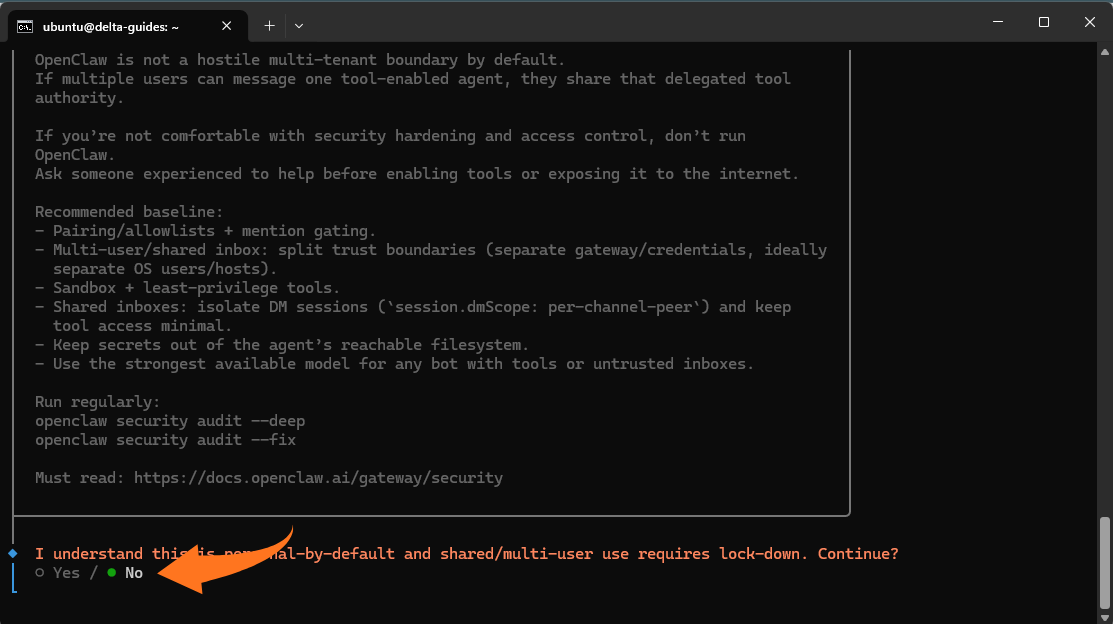
During onboarding, select the recommended options for a private VPS setup:
- Security prompt: Yes
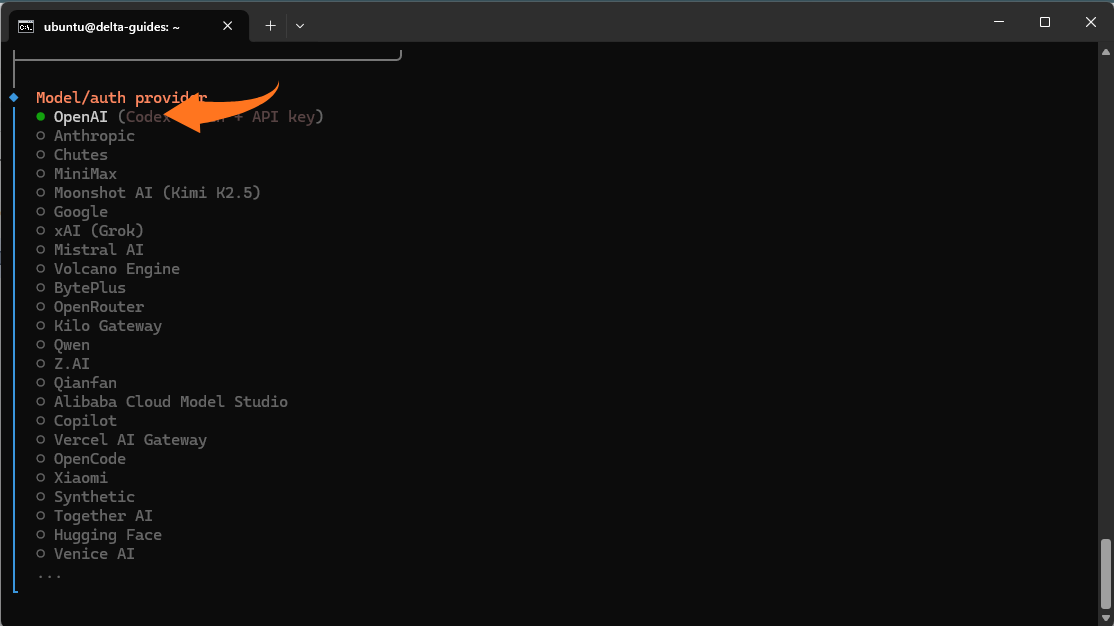
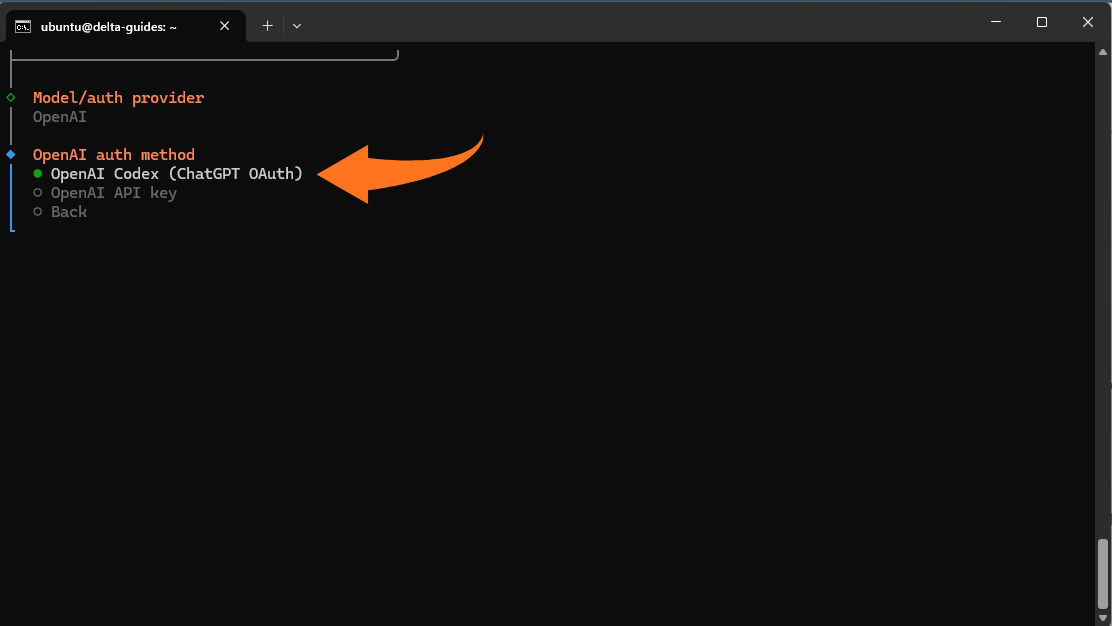
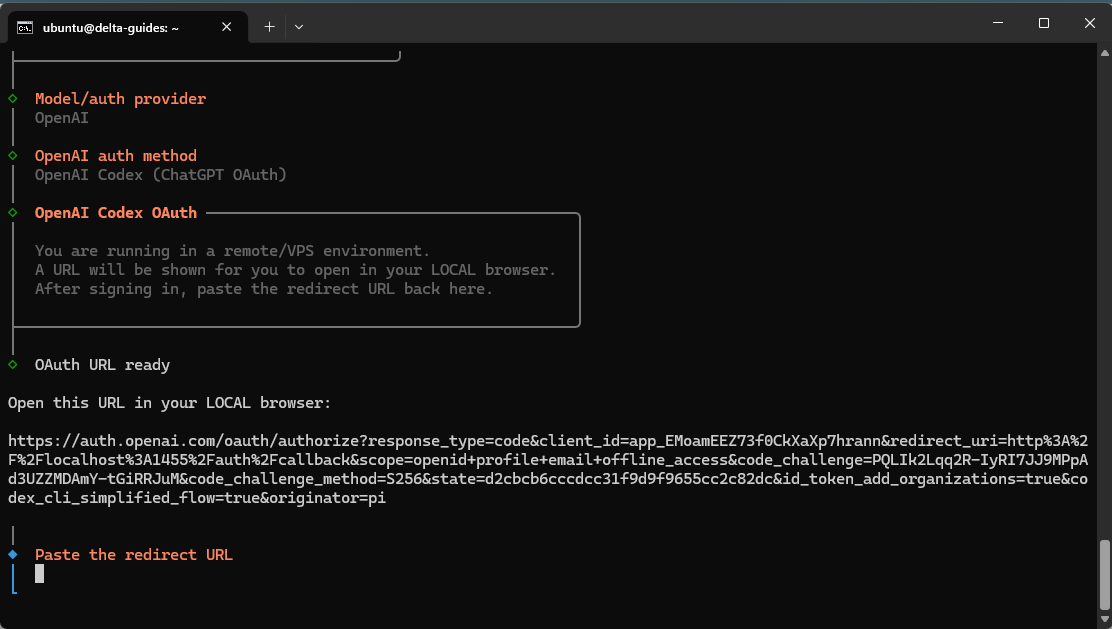
- Model provider: OpenAI, Codex (ChatGPT OAuth) (no API key)


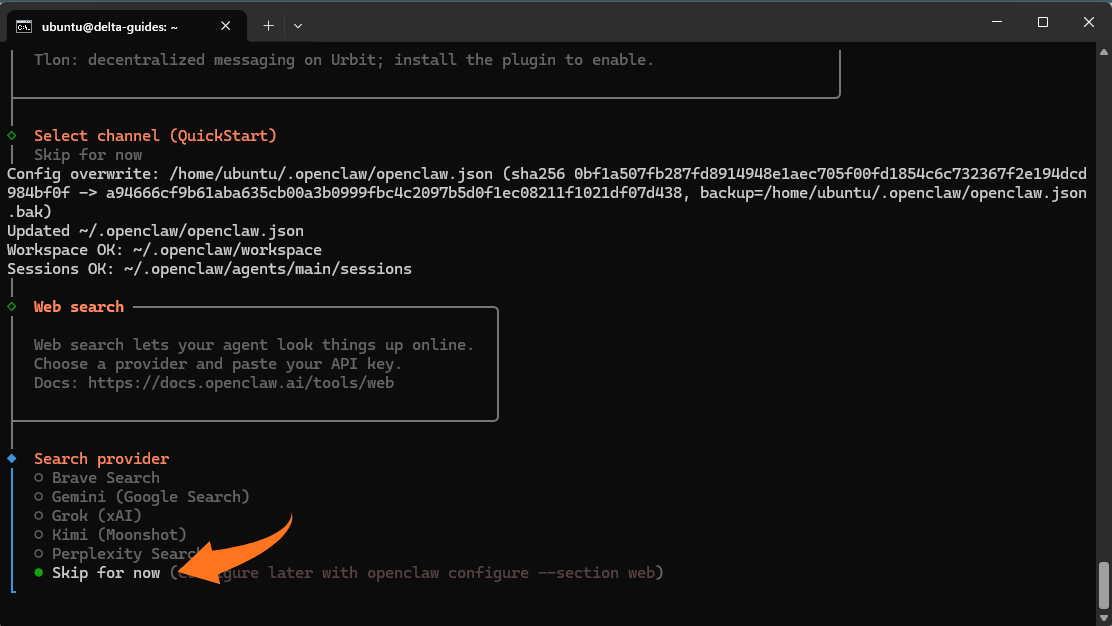
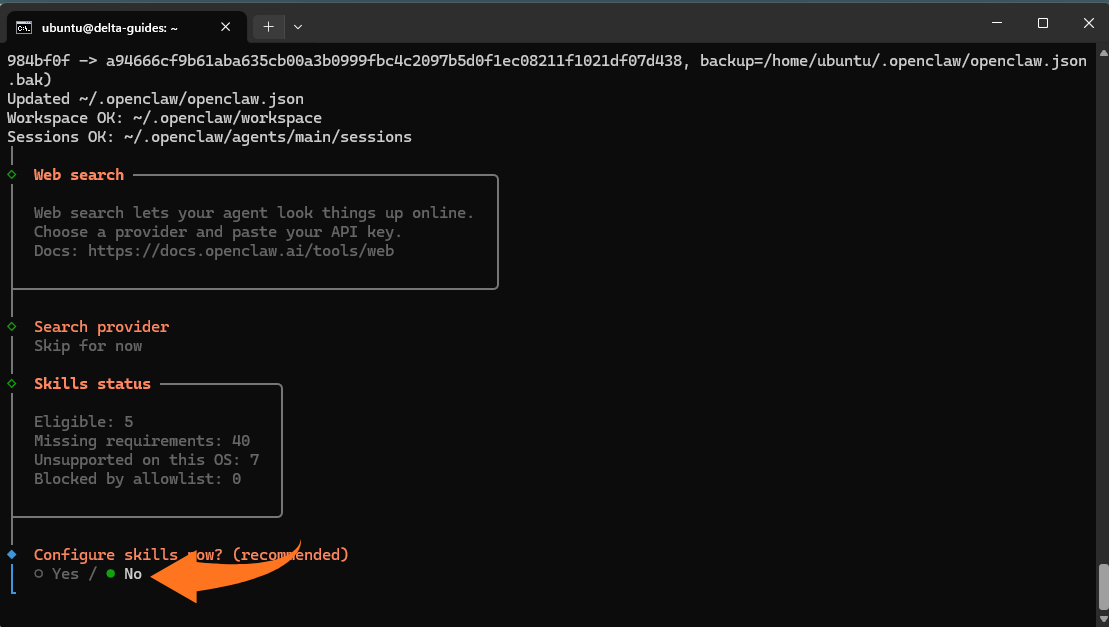
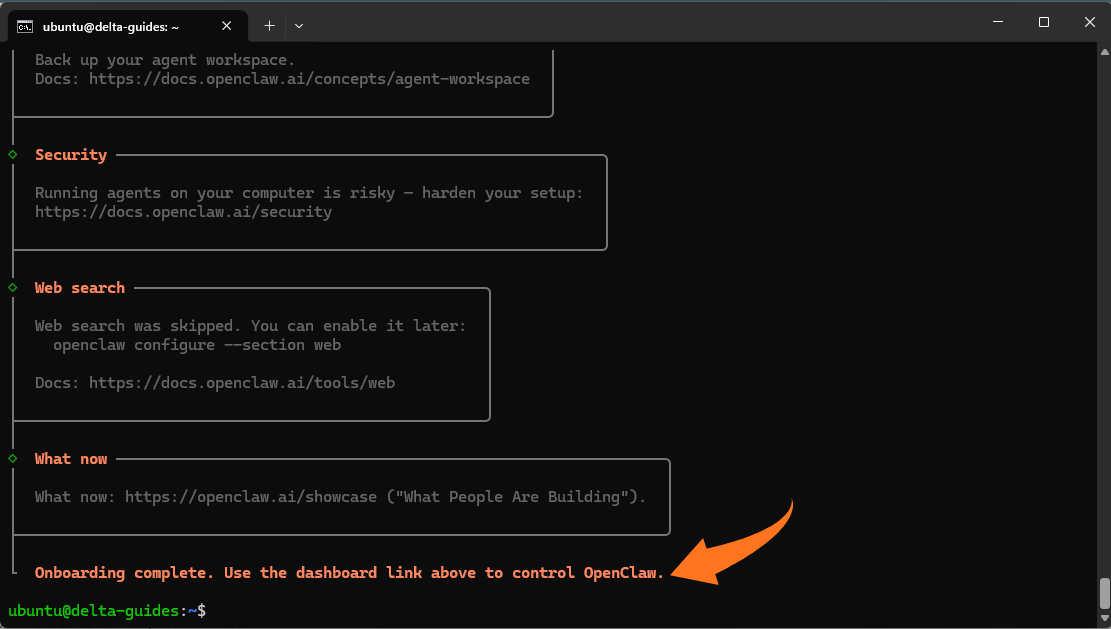
- Web Search: Skip for now (requires API keys)
- Skills: No (optional)
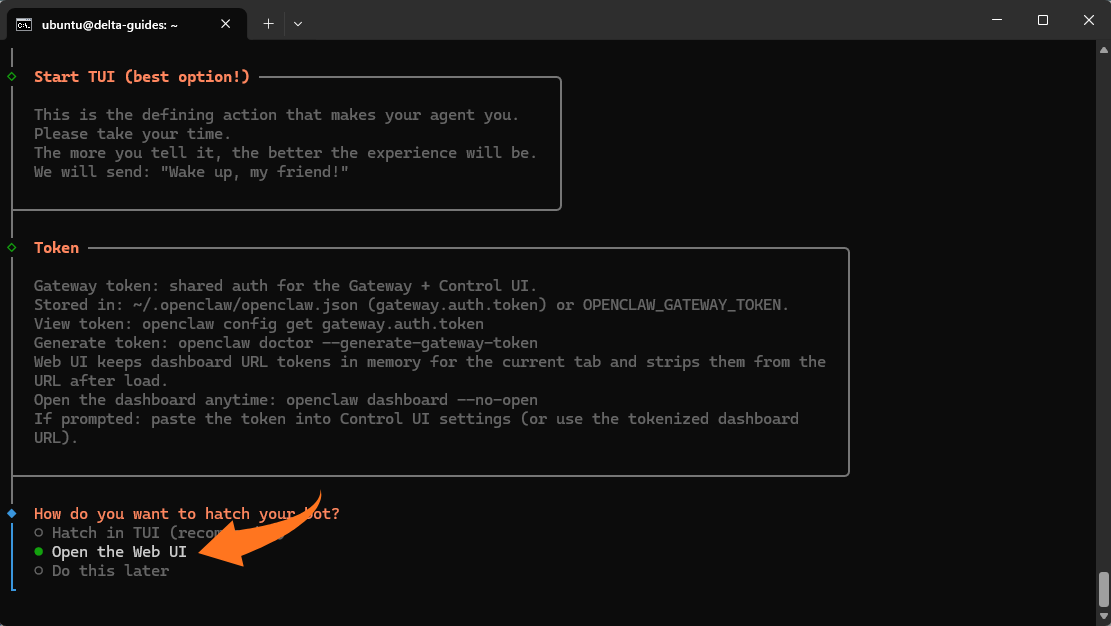
- Bot access method: Open the Web UI
After onboarding completes, OpenClaw provides several key outputs:
At this point, the installation should also have created and started a system service. You can verify that OpenClaw is running correctly by checking the systemd service:
systemctl status openclaw
If the service is active, OpenClaw is running in the background. You can also confirm that the system service was created and is enabled:
systemctl is-enabled openclaw
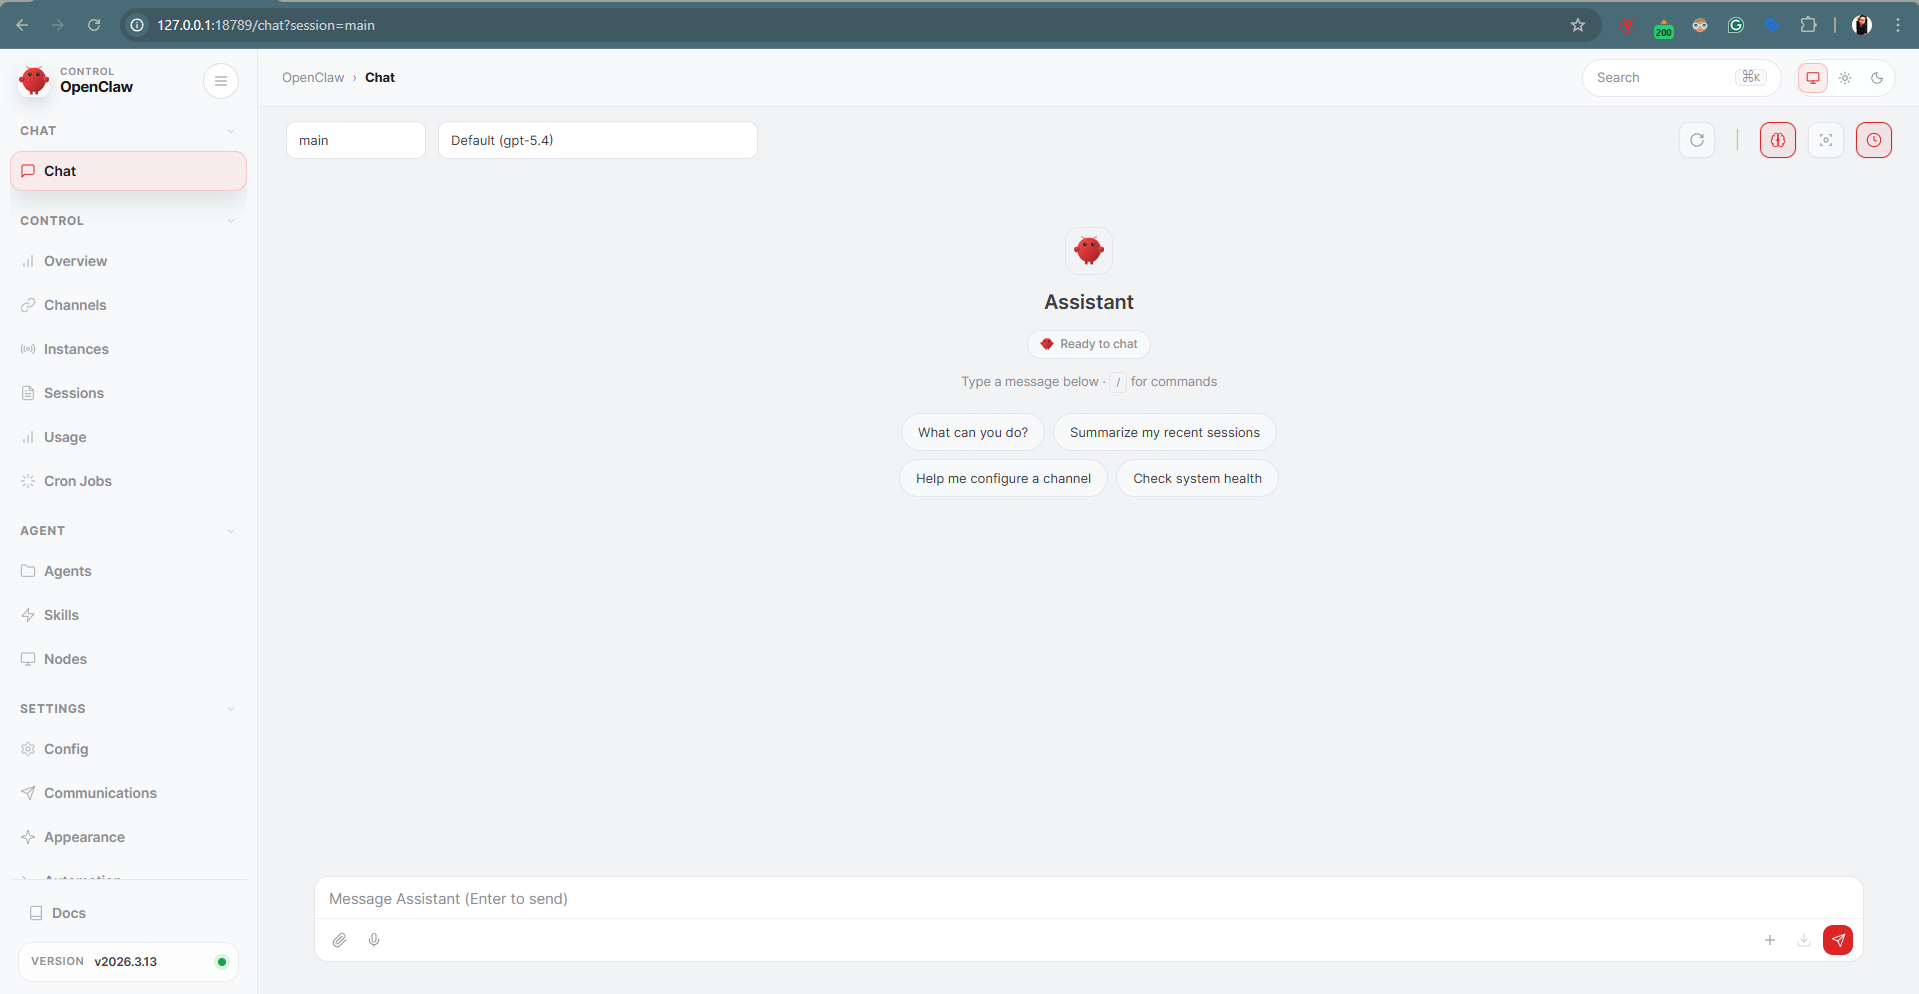
By default, OpenClaw runs on:
http://127.0.0.1:18789
You can also confirm which port it is listening on using:
ss -tulnp | grep 18789
Once confirmed, OpenClaw provides the following access methods:
Dashboard Ready
- Local URL with token for accessing the dashboard: http://127.0.0.1:18789/#token=<token>
- SSH tunneling instructions if accessing remotely:
ssh -N -L 18789:127.0.0.1:18789 ubuntu@<VPS_IP>
Then open: http://localhost:18789/ in your browser.
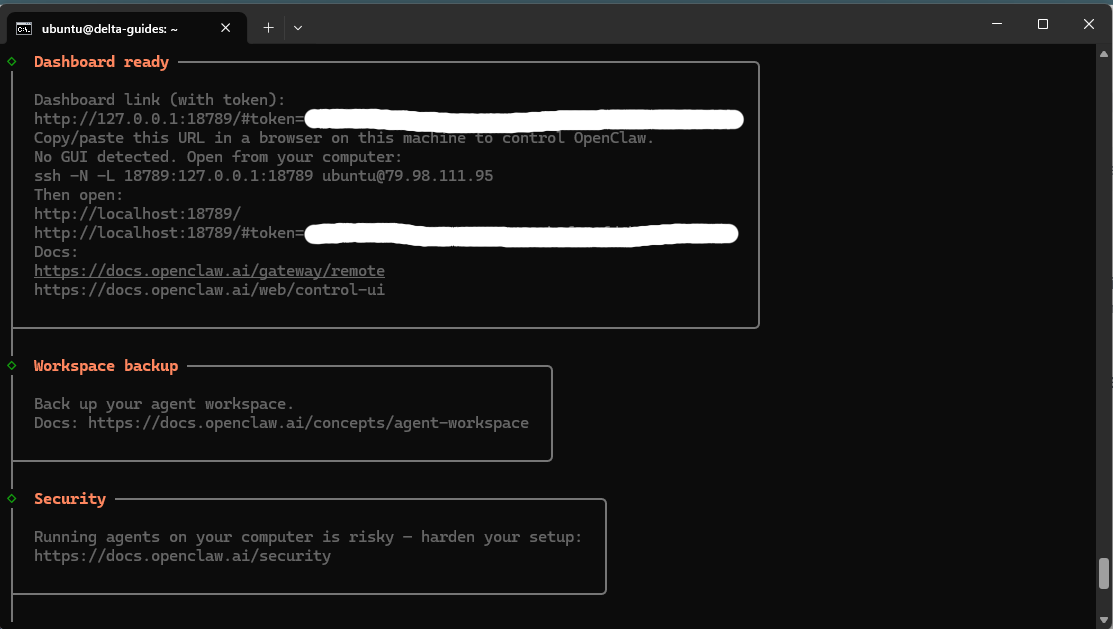
Use the provided dashboard link or SSH tunnel to confirm that OpenClaw is running correctly before proceeding with further configuration or deploying agents.
Step 6: Access the dashboard privately using an SSH tunnel
On your local machine (not the VPS), create a tunnel:
ssh -N -L 18789:127.0.0.1:18789 user@YOUR_VPS_IP
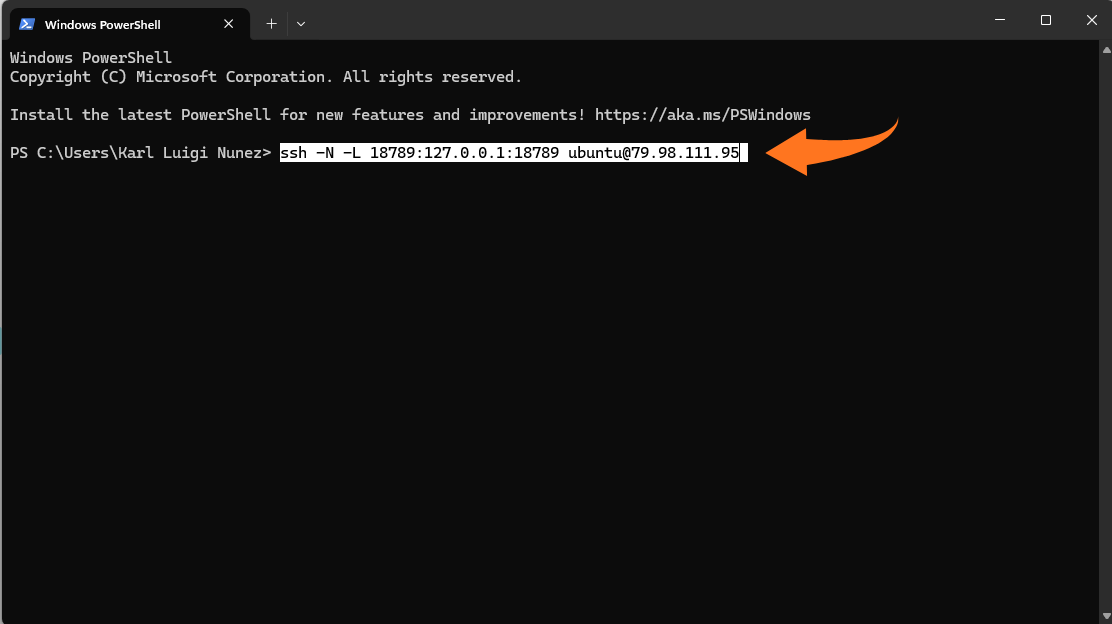
Keep the terminal open, then access the dashboard via your browser:
http://127.0.0.1:18789/+your token
If prompted, enter the token generated during onboarding. This token acts as a password and should be kept private.
Common Issues During OpenClaw VPS Installation and How to Fix Them
“Killed” Error During Installation
This error usually occurs when the VPS has insufficient RAM, which is common on lower-tier plans. Adding swap space can supplement memory, allowing the installer to complete successfully even on servers with minimal resources.
Installer Script Fails to Complete
If the installer script stops unexpectedly, it is often due to network interruptions or outdated system packages. Running a full system update (sudo apt update && sudo apt upgrade) and retrying the installation usually resolves the issue, provided the VPS has a stable internet connection.
Onboarding Does Not Start Automatically
Sometimes the onboarding process does not initiate automatically, leaving configuration files and services uninitialized. Manually running the onboarding command ensures that all necessary files and services are properly created, setting up OpenClaw for correct operation.
SSH Tunneling Errors
SSH tunneling problems commonly arise when the tunnel command is run on the VPS rather than the local machine, or when the IP address or port is incorrect. Running the command locally and verifying the chosen port is free typically resolves these errors.
Dashboard Fails to Load in Browser
If the OpenClaw dashboard does not appear in a browser, the service may not be running, or the SSH tunnel could be inactive. Checking the service status with systemctl status openclaw, restarting it if necessary, and confirming the tunnel is active usually restores access. Reviewing log files can also help identify any underlying issues.
Conclusion
Deploying OpenClaw on a VPS offers a stable, private environment that runs continuously, independent of your local hardware. With proper system preparation, installation, and verification, you can maintain a reliable deployment while minimizing exposure to the public internet. Understanding potential issues and their solutions further ensures smooth operation over time.
At Delta, we provide Cloud VPS solutions designed for reliability, performance, and secure remote access. If you want a hassle-free setup for OpenClaw, our VPS services provide the infrastructure and support to get you started quickly and maintain a stable, private environment.
